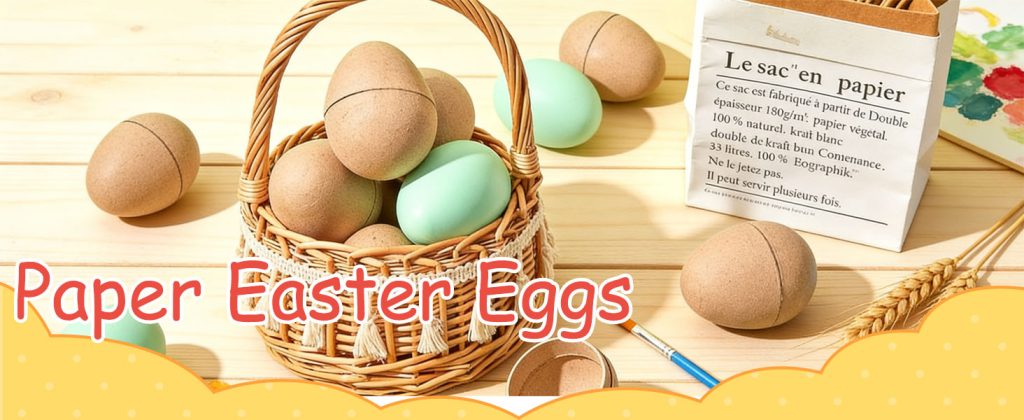
Paper Mache Easter Eggs: The Perfect Canvas for Your Spring Crafts
When spring arrives, crafters of all ages start looking for fresh ways to celebrate the season. Paper mache eggs have become a favorite choice for Easter crafts because they are lightweight, sturdy, and wonderfully easy to personalize. Unlike real eggs, they will not crack at the slightest touch, and unlike plastic eggs, they offer a smooth, paintable surface that welcomes every creative idea. Whether you are planning a family craft afternoon, a classroom art project, or a solo afternoon of decorating, paintable Easter eggs made from paper mache give you the freedom to experiment, make mistakes, and start over without worry.
Why Choose Paper Mache Eggs for Easter Crafts?
Paper mache eggs are created from layered paper and paste, which gives them a surprisingly durable shell. That construction makes them ideal for handling by children, displaying on mantels, and even using as part of table centerpieces. They are also affordable and widely available in craft stores, which means you can stock up for group projects without spending a fortune.
Lightweight and Durable
One of the biggest advantages of paper mache eggs is their weight. They feel almost feather-light in your hand, yet they hold up beautifully to paint, glue, glitter, and embellishments. If you drop one, it may dent or scuff, but it is far less fragile than a real eggshell. This makes paintable Easter eggs especially appealing for families with young children who want to decorate independently.
Ready for Any Paint or Decoration
The surface of a paper mache egg is naturally porous, which helps acrylic paint, tempera, and even watercolor adhere well. You can prime the egg with a coat of white paint or gesso if you want brighter colors, but many crafters enjoy painting directly onto the natural brown or white surface. From simple stripes to intricate folk-art patterns, the possibilities are nearly endless.
Getting Started: Materials You Will Need
Before you begin, gather a few basic supplies. A well-prepared workspace keeps the craft relaxed and enjoyable, especially when children are involved.
- Paper mache eggs in the size and quantity you need
- Acrylic or tempera paint in spring colors such as pastel pink, mint green, lemon yellow, and lavender
- Paintbrushes in several sizes, including a fine brush for details
- Newspaper or a washable tablecloth to protect your work surface
- Water cup for rinsing brushes
- Optional embellishments such as glitter, ribbon, stickers, or decoupage paper
Painting Techniques for Paintable Easter Eggs
Paintable Easter eggs are forgiving, so you can try several techniques in one sitting. Start with a base coat and let it dry completely before adding details. Thin coats usually produce a smoother finish than thick, heavy layers.
Classic Spring Colors
Soft pastels are always a safe and beautiful choice for Easter crafts. Paint the entire egg in a single pastel shade, then add white dots, thin stripes, or simple flower shapes with a fine brush. For a more polished look, use painter’s tape to create clean lines, or try a splatter technique with an old toothbrush for a playful, speckled effect.
Textured and Metallic Finishes
If you want your paper mache eggs to stand out, experiment with texture. Mix a little baking soda into acrylic paint for a matte, chalky finish, or sponge on metallic paint for a subtle shimmer. You can also glue on small pieces of torn paper, lace, or tissue paper to create a layered, decoupage-style surface. Just remember to let each layer dry before adding the next one.
Craft Tip: Place each painted egg on a small paper cup or a bottle cap while it dries. This keeps wet paint from smudging and allows the entire surface to air-dry evenly.
Creative Craft Ideas Beyond the Basic Egg
Once your paintable Easter eggs are decorated, you can turn them into much more than simple decorations. Here are a few ideas to inspire your next project:
- Easter egg garland: Thread a ribbon through the top of each egg and hang them across a mantel or doorway.
- Place card holders: Cut a small slit in the top of a paper mache egg and slip in a handwritten name card for your Easter table.
- Miniature planters: Remove the top third of a larger egg, paint the outside, and fill it with a tiny succulent or spring flowers.
- Gift boxes: Use two half-eggs as a small container for candy, jewelry, or a handwritten note.
- Storytelling eggs: Paint symbols or scenes on each egg and use them to tell a springtime story with children.
Tips for a Successful Paper Mache Egg Craft Session
- Work in layers: Let base coats dry fully before adding patterns or embellishments.
- Keep it simple: Young children often enjoy one or two colors and a few stickers more than complicated designs.
- Use a drying rack: A repurposed egg carton makes an excellent drying station for multiple eggs.
- Seal the finish: A light coat of matte or glossy varnish helps protect your design and makes the colors pop.
Displaying and Preserving Your Handmade Easter Eggs
Paper mache eggs are sturdy enough to be displayed year after year if they are handled with care. Store them in a padded box or egg carton, away from direct sunlight and moisture. When you are ready to display them, arrange them in a shallow basket, scatter them across a table runner, or place them in a glass bowl with fresh spring blooms. A small label on the bottom with the date and the name of the crafter can turn each egg into a sweet keepsake.
Final Thoughts
Paper mache eggs, Easter eggs for crafts, and paintable Easter eggs all share one wonderful quality: they invite creativity without pressure. You do not need perfect brushstrokes or expensive supplies to make something beautiful. A few colors, a little imagination, and a free afternoon are enough to turn plain paper mache eggs into cheerful decorations that capture the spirit of spring. Whether you paint delicate pastel patterns or bold, glittering designs, each egg becomes a small work of art that you can enjoy throughout the season and beyond.